Showing posts with label Birthday. Show all posts

February 6, 2012

✥ Reader Feature: Circus Birthday Party ✥

The feature this week is a little bit different- no kitchens or furniture makeovers this time!
Instead, I fell in love with this darling little Circus themed birthday party- brought to us by Lisa from Grey Luster Girl! I know you will love it as much as I do!
✧✧✧✧✧
Most of my parties take months to plan and prepare for.  I put this little Circus Birthday Party together for my niece in 2 weeks.  I am happy with how it all turned out.
The invitations
The pinwheels really spin. I had a hard time finding a tutorial to make them actually spin. I wanted to use sticks instead of pencils so I needed to find a different alternative than pinning the pinwheel into the eraser. Finally I found a good idea here to put beads on the pin after the paper pinwheel.  I glued a button on the tip of the pin and then I bent the end of the pin.
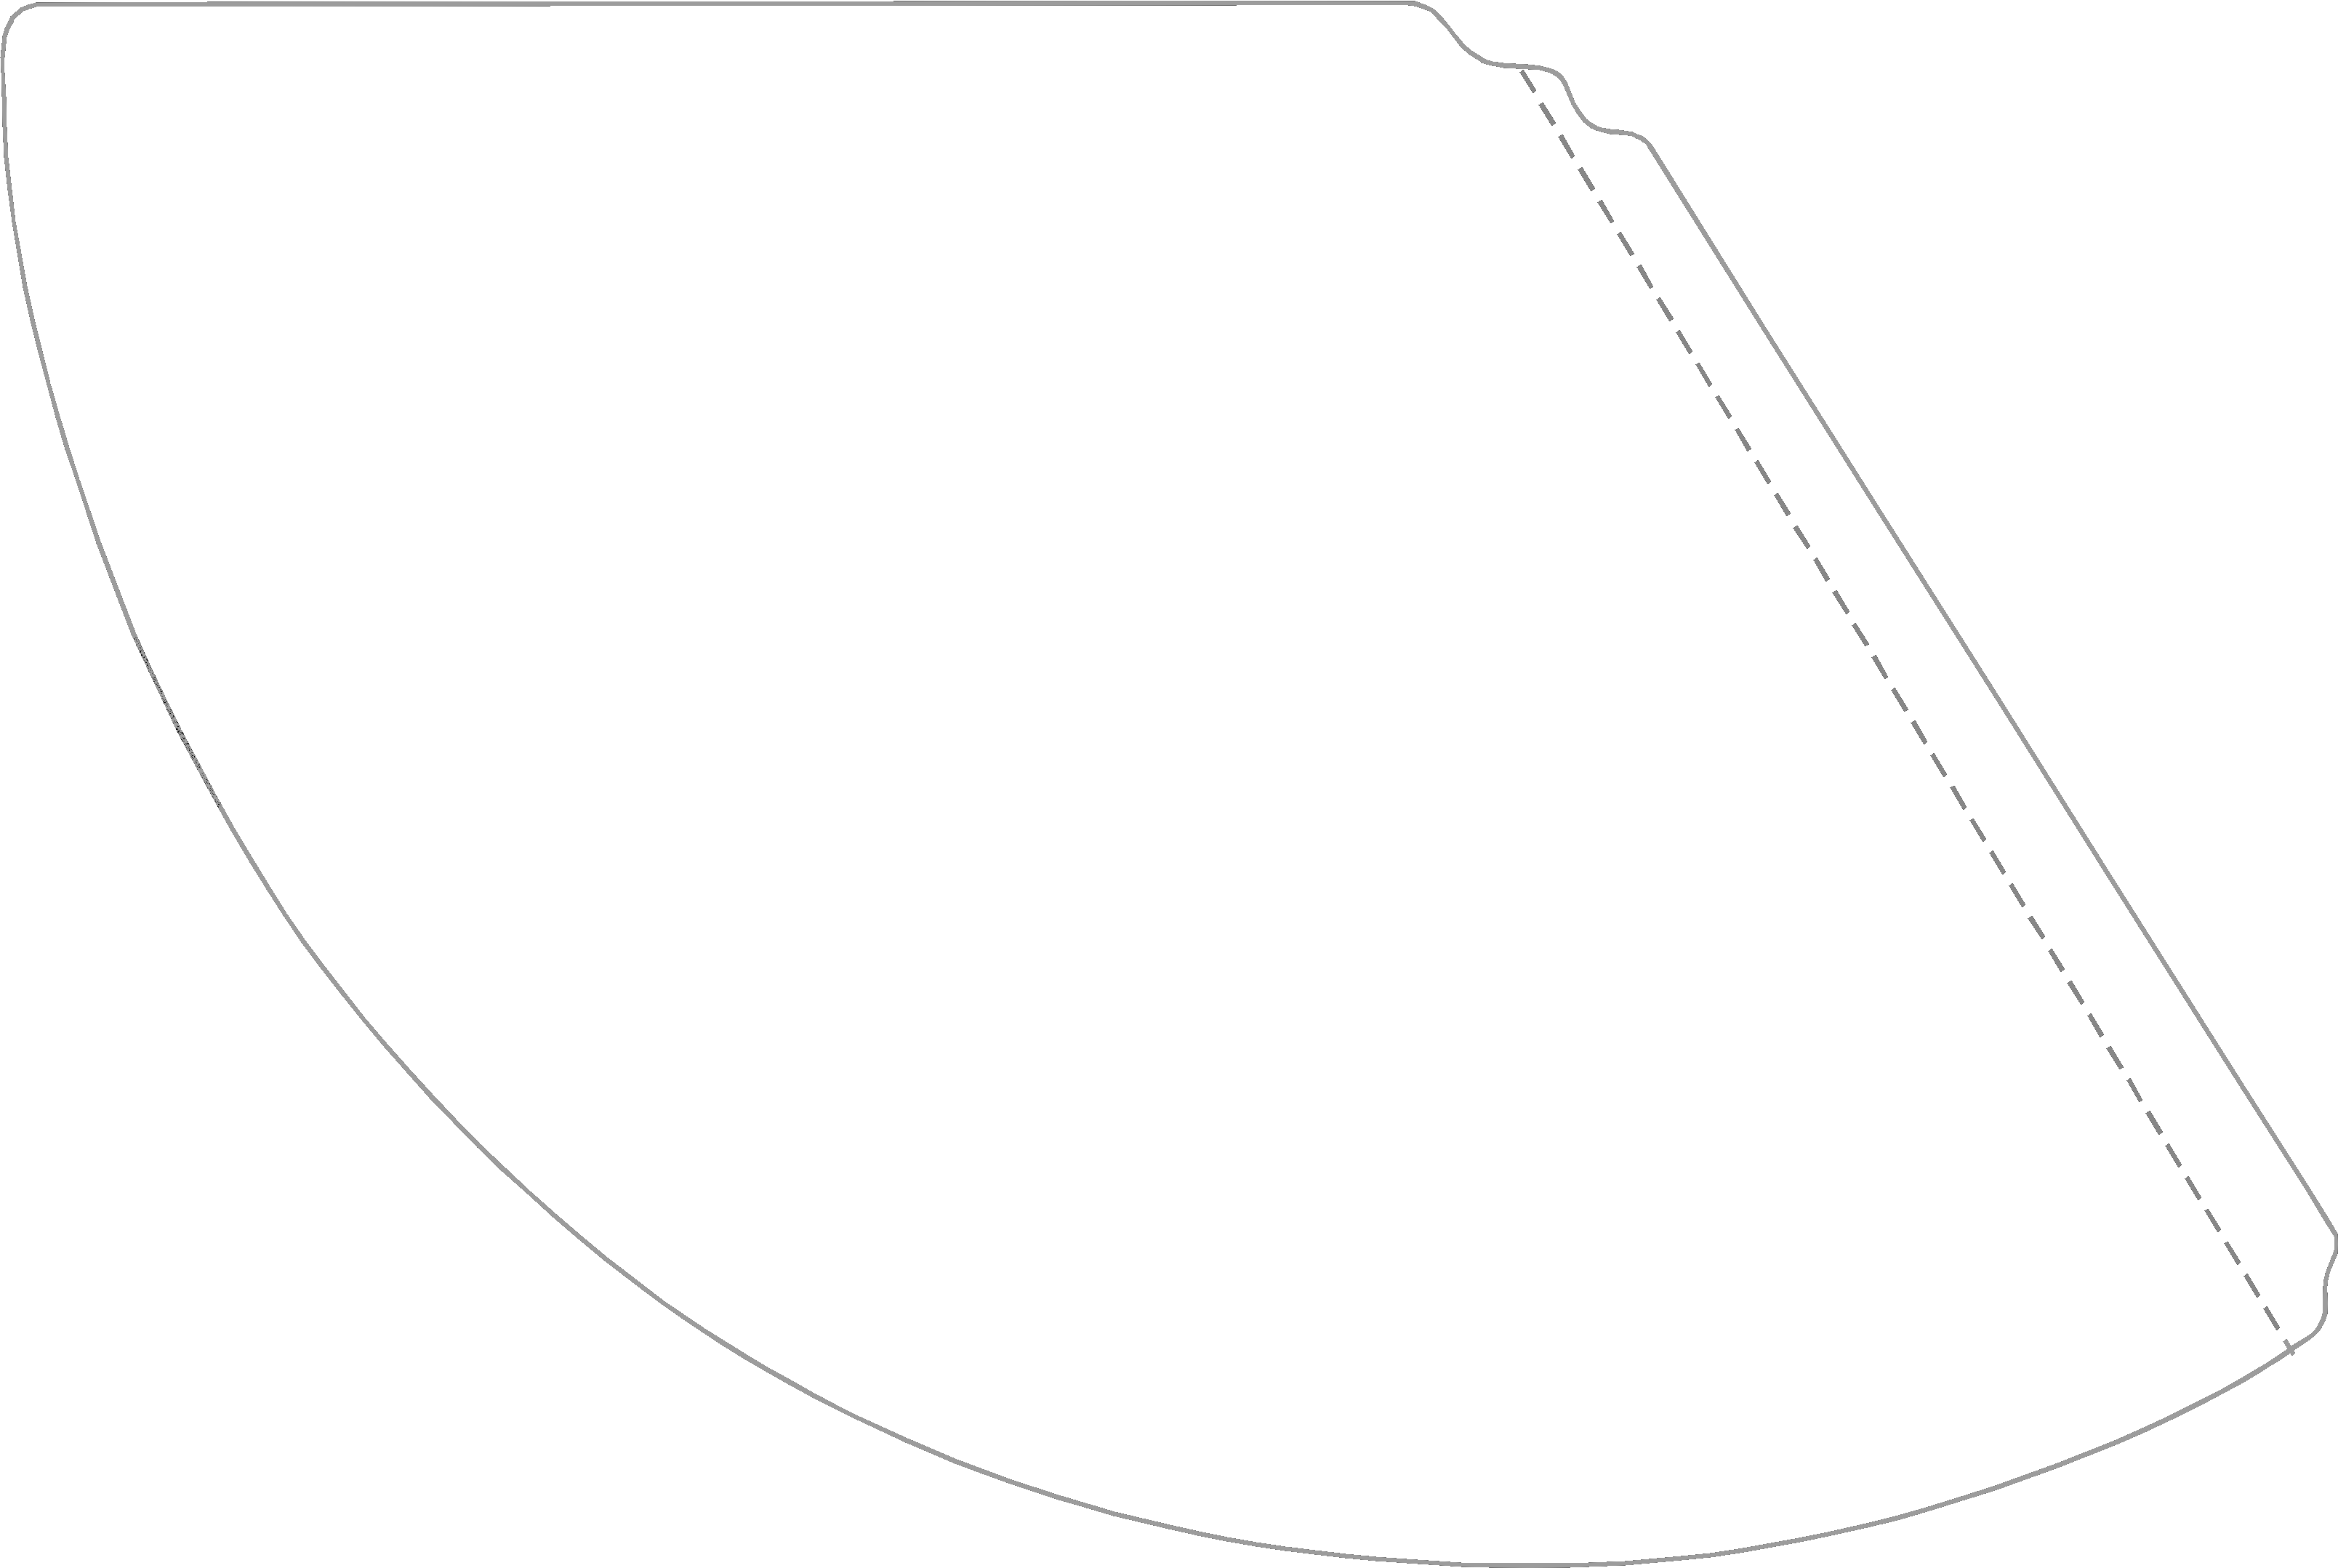
I used this template for the cone birthday party hats. 
Party favors made with the DIY bakers twine.
I made two 30 foot fabric circus banners to hang above the festivities. 
We also had a photo booth.  Well it was more like a photo spot.
✧✧✧✧✧
Not bad for two weeks notice, right? Lisa is super duper talented! She really knows how to throw a party!
She has several posts about her daughter's Strawberry shortcake party as well as amazing ideas to customize a parties for any theme. I think she should go pro as a party planner- she totally rocks.

If you want to see more from Lisa, you should definitely check out her Valentine's Day Mantel. The details are just perfect!! Not to mention the mantel itself. They redid the fireplace here, it's freakin gorgeous!

June 17, 2011

✥Happy HOMEMADE Birthday✥

Just a short little post to share with you the birthday present for my Mom.
I did a Happy Homemade Birthday themed day.
Some cupcakes with homemade cream cheese frosting-yum.
Here's the frosting recipe (it is delish!):

Cream Cheese Frosting     

Ingredients

  • 4 ounces unsalted butter, softened
  • 4 ounces cream cheese, softened
  • 2 cups powdered sugar
  • 1 teaspoon vanilla extract

Directions

In a large bowl, beat together the butter and cream cheese with an electric mixer. With the mixer on low speed, add the powdered sugar a cup at a time until smooth and creamy. Beat in the vanilla extract.

For the cupcakes I used a box mix. But a little while back I discovered you could make cake with only a mix and 10 ounces of diet soda{no eggs, oil, or water!}. The cake turns out moist and basically perfect. The cake only has the fat that was in the mix originally- isn't that great! You have to try it.
Just right click to save to computer...or drag onto your desk top.
Got these awesome free cupcake toppers from Yesterday on Tuesday, they were for mother's day but I knew they'd be perfect for my Mom's birthday. By the way she hearts birds.

Then I bought a square vase from Ikea and did the mercury glass finish I perfected in the Crate & Barrel lamps I copied, check there for the full tutorial.

I really wanted to post it so that you could see the inside of the vase.
This is what it looks like when you paint the inside with gold to wear away the glass paint in places. Where you see the gold real thick on the inside is the place where the mirror paint has been worn off. I hope that makes sense.
And lastly, if you go to the craft store you can buy 20 cards for $10. They come blank, ready to be colored or whatever you want. Pretty perfect for those of you with extensive stamp collections and some time on your hands.


Hope you liked the happy homemade birthday-It was fun to do something more personalized.
Have a great weekend!
I party HERE-