
Oh, friends. My.Back.Is.Out. {ouch!!}
So, let's get to it- shall we? Before I branch off into unrelated, drug induced tangents!
Today I'm happy to introduce you to my bloggy-friend, Kristin. She's the creative force behind Simply Klassic Home. I'd be surprised if you haven't already "met" her- she's super friendly and so sweet. Not only does she blog, but she also does blog design- you have probably seen her work around blogland- and probably her printables, too.
✧✧✧✧✧
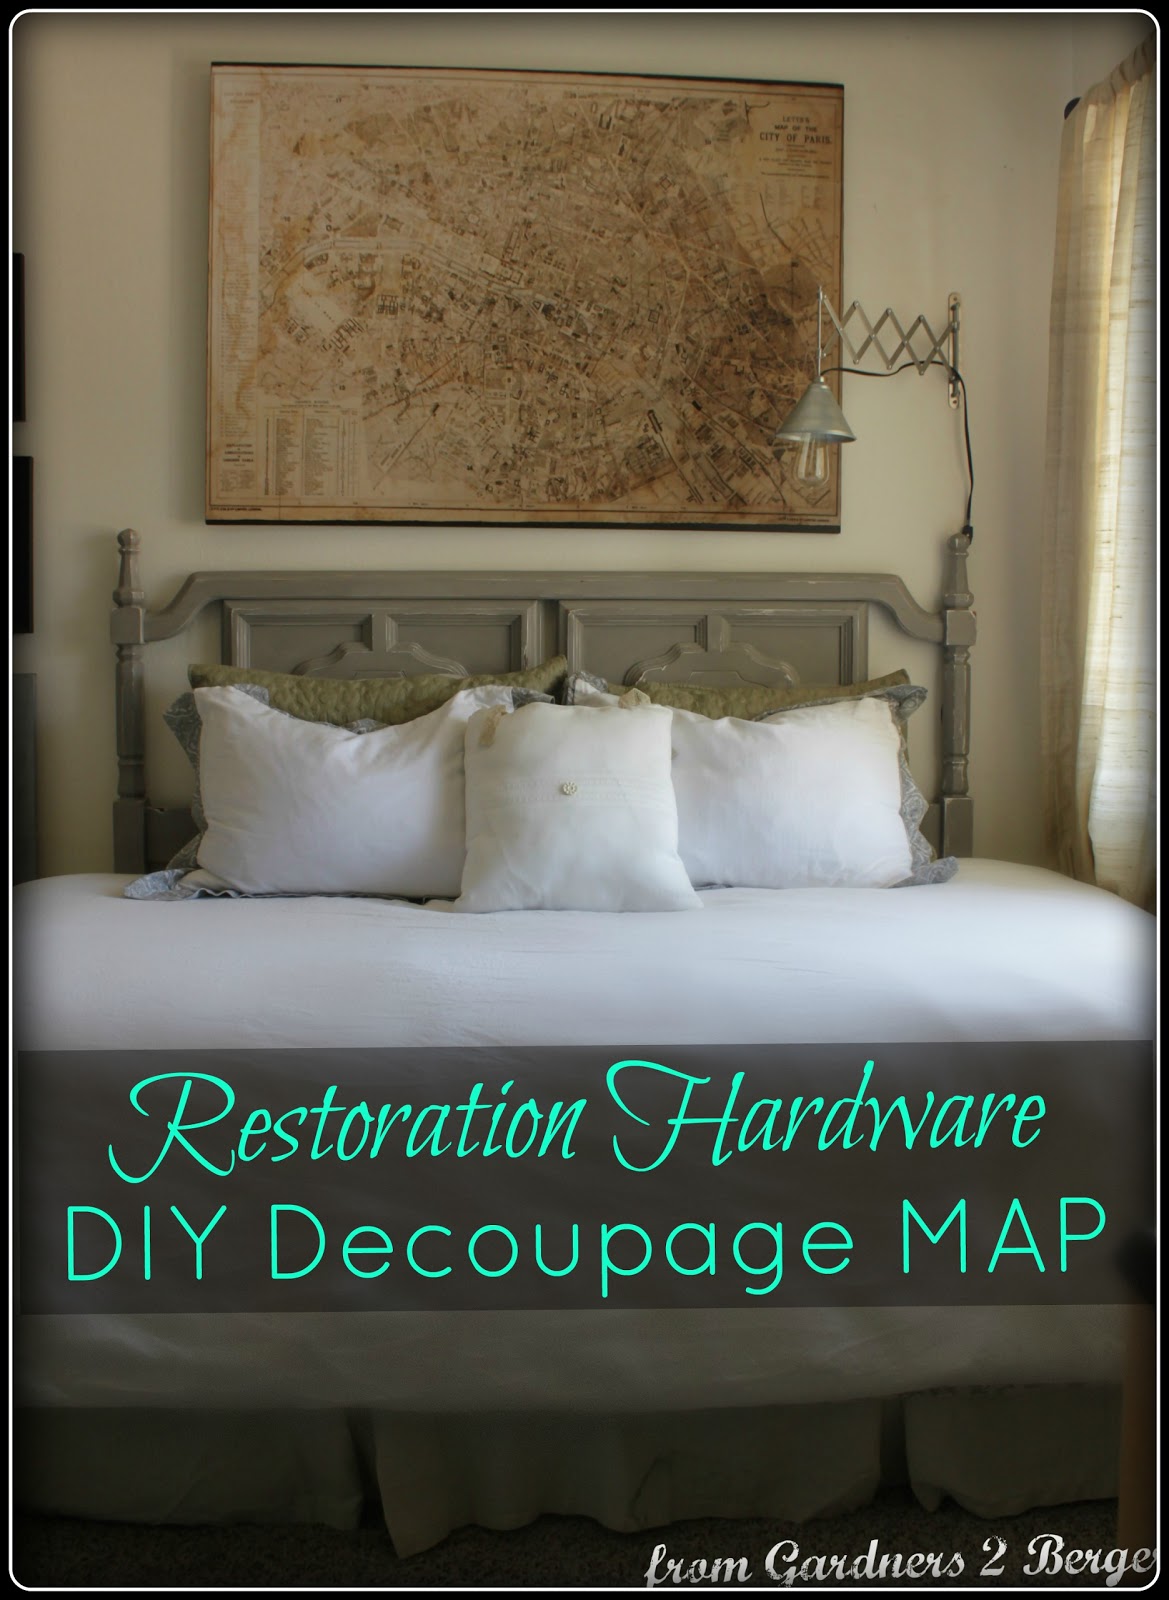
Master Bedroom Reveal - An Unexpected Makeover
Now, I've got lots on the "to-do" list for this year, and the master bedroom didn't even make the cut...so why is it the first thing finished???
A couple of months ago I decided to use the shutter headboard elsewhere in my home so out of the bedroom it came. Then I realized I had to replace it with something but had no idea what. I knew I wanted to add more natural elements and warmth and texture, but how?

If you are a follower of Pamela at PB&J Stories you already caught a glimpse of the new headboard when I shared my painted mirror project. (As you can see, distressed won!)

I was Pinterest surfing and came across this project by Vintage Bliss. Inspiration struck as I remembered I had our old hollow core closet doors stored in the garage. I hoped it would be the right size, and though it was a little wider than the bed, I thought it was just right.


All of a sudden here I was completely immersed in a bedroom makeover. I went to my favorite store, Country Roads in Orange, California (ahem, fivetimesintwoweeks), looking for new pieces to complete the room. (It may be a sickness.)
I'm so grateful to have my amazing friend to bounce ideas off of. (From one Princess K to another, thank you from the bottom of my heart.) She found this beautiful bench for me at where else, Country Roads.

A quick coat of poly and she was ready to go.


The dresser was part of last year's makeover.

I added each of the vignette elements.


I grabbed some vintage books from the unused (in 20 years) church library to give the lamps some height and switched out the shades.


Dropcloth curtains are cheap and effective, and add the perfect amount
of color and texture. Tied with burlap scraps to finish them off.


An old frame and iron bird hooks hold my necklaces (all three of them).

I tied a scrap of dropcloth and twine around a small mason jar, added a wire hanger for a cute little hanging vase.

I had to include a special new fluffy pillow in the corner for my sweet kitty (mostly to keep her off of my bed!).

And finally, a framed printable reminds me of what I'm striving for each
day - to let go of the junk and live in the moment every single day.

I'm loving it all and know that this is exactly what I wanted!!
Thanks for stopping by and I hope you enjoyed this little tour. I'll be sharing some details later in the week. Now maybe I can get back to some of the other projects I've been working on!
✧✧✧✧✧
Didn't she do a great job? I adore that headboard- I am fully addicted to that union jack flag. So obviously I am coveting that pillow, too!
Kristin totally deserves a retreat-like bedroom. She's a single mom of 2 {adopted!!} kids- and warrants some "her" time. Right?
Didn't she do a great job? I adore that headboard- I am fully addicted to that union jack flag. So obviously I am coveting that pillow, too!
Kristin totally deserves a retreat-like bedroom. She's a single mom of 2 {adopted!!} kids- and warrants some "her" time. Right?
A few extra goodies...

Kristin joined the chalk paint rage when she painted her grandmother's heirloom hutch! You will want to see the before on this baby- it's is totally awesome!I love how she displayed family heirloom furniture and filled it with the same. So meaningful- and it looks beautiful!

I also love this mantle scape- the gray wood, pops of turquoise and vintage jars are right up my alley! Check out how Kristin made this sign- I'm sure you'll want to make your own. I know I do- like seriously!
Make sure you pop over and say "Hi" to Kristin!
I hope you all have a great Monday!!


