
Did you guys have a good weekend? Mine was full of work- blah!
{Aaaannnnd today is kinda a big deal for me- nothin to do with blogging- but somebody cross your fingers for me or say a prayer that I don't get tongue-tied and fall on my face. Of course I'll share more down the road...if all goes well! Ha!}
Today Kelly from Oak House 5 has come to hang out with us! Kelly is a real sweetheart. She blogs about her home- and all things pertaining to it, including: recipes, design, decor, , and family anecdotes.
Today she is here to share her younger daughter's bedroom. I may be having bedroom envy- this is a far cry from the white box I grew up in... no jealousy though, I swear!
This room is so perfect for a young girl! It makes me want to snatch one up just to I have a reason to make a room look this cool! I am a little obsessed with the black striped curtains, the yellow walls, and a photo gallery wall to rival anything a "real" designer could come up with- Kelly has no formal training, she's just cool like that!!
✧✧✧✧✧
This is my
11 year old daughter's room. I don't normally do children's rooms, but
I LOVED helping Abby with this room. The yellow is so happy and this is
not a "show" room, everything in this room is personal and kid
friendly. From the bedding to the art to the ballet bar, karaoke machine
and massive stereo, this is my girl's place for reading, dancing,
singing and jamming out to her own personal playlists. I couldn't be
happier with the project!
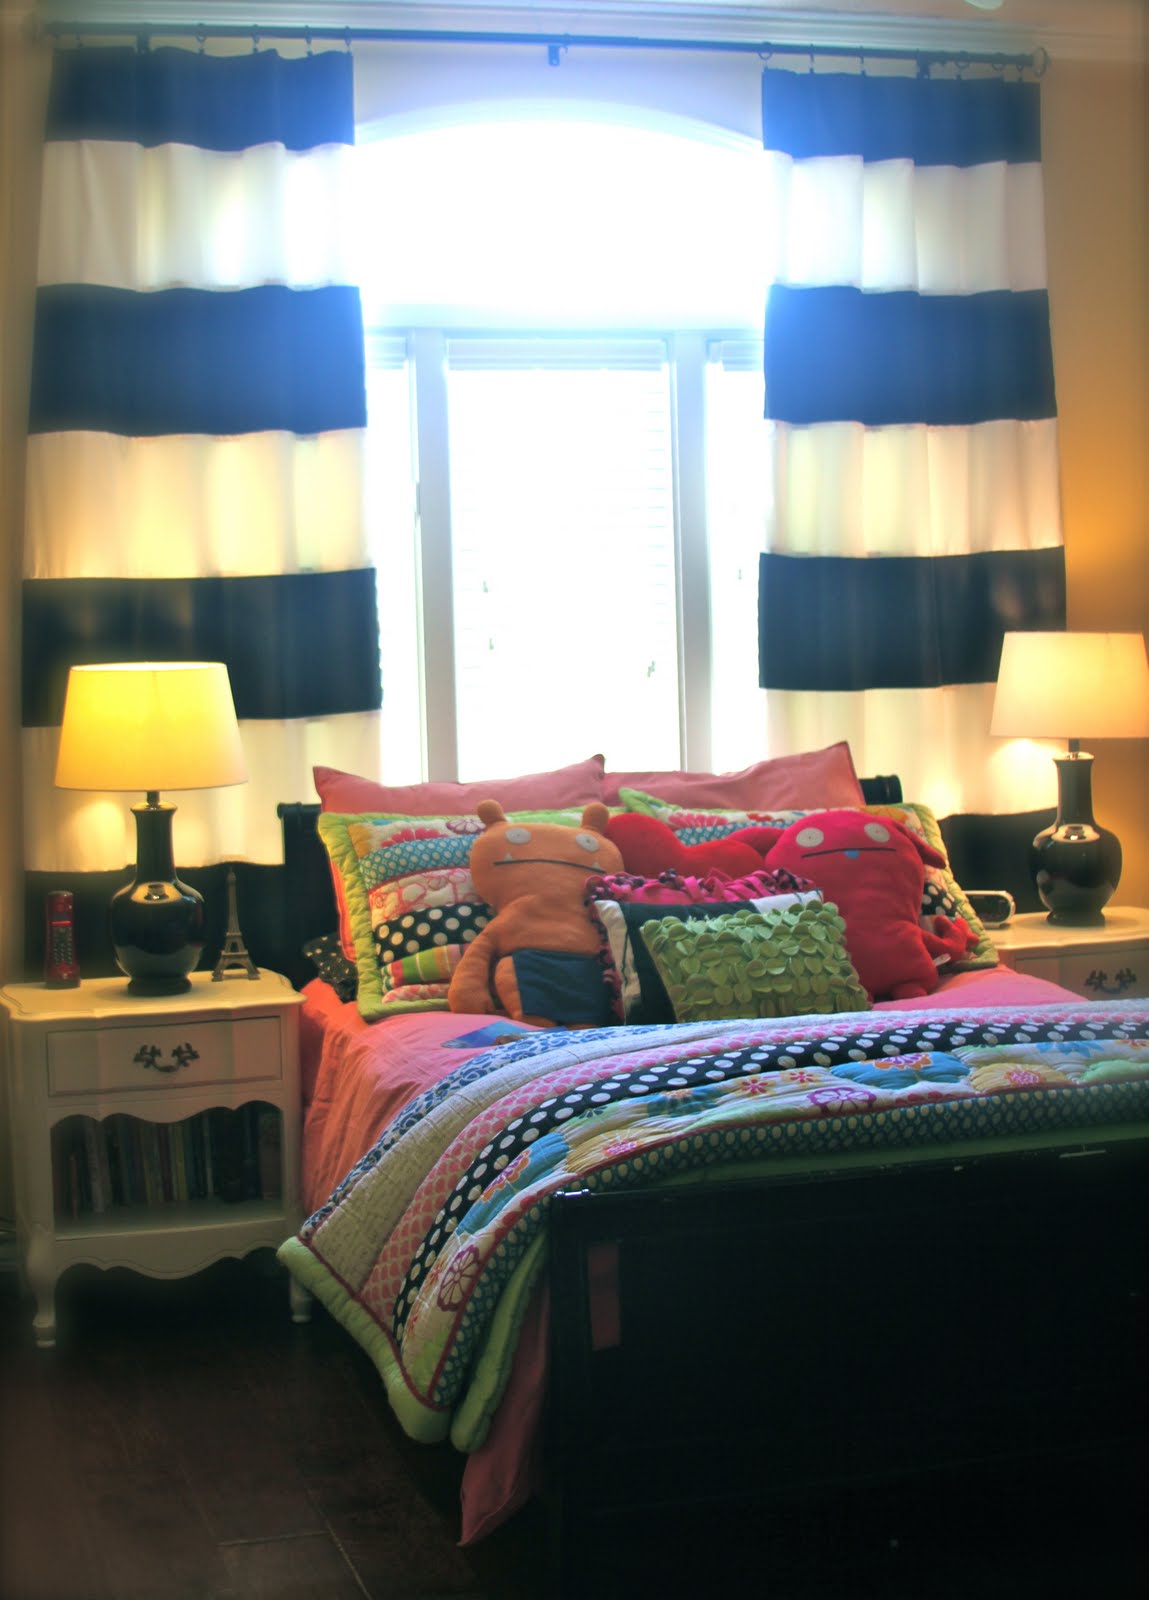


Everything on the walls is either old and sentimental or something that just "spoke" to Abby from clearance sales to garage sales. It was all about building a room around Abigail's extraordinary character.


The tween years are hard, she is growing up but still loves her dolls. We came up with a great way to get the dolls off the floor where she can still enjoy them by mounting these floating shelves from Target.


A kids room needs to be functional as well as aesthetically pleasing to the eye. I feel like this room fits my daughter and we like to think of it as understated whimsey on a budget! Whatever your child's personality, let their space reflect it! Happy decorating!
Cheers,
Kelly
✧✧✧✧✧
Don't you just love that room? Sigh...I love how Kelly embraced and designed an Anthropologie-ish, vintage-y space. Can you believe she had the items on the gallery wall in her attic?! I think I could go shopping in an attic like that!!
Since we don't all have teenaged girls- I thought a share a little more eye candy from Kelly's home!

Her entire home looks like it's straight out of a magazine! It is so, so beautiful. Check it out for yourself here.

But whatever you do- make sure you check out Kelly's amazing kitchen reno! It is so, completely amazing!! Can you believe that chandy? Ohmygosh! {Shh, I may have already featured this room a few months ago!}

[PS] I feature YOU GUYS {my readers} every Monday! Do you have a room makeover- or maybe have a home tour you'd like to share?
Drop me a email or shoot me a link. Let's see if we can work it out!! xoxo


