Hope you had an amazing week. We are preparing for a couple of mini work trips. In a unsolved phenomena, mini trips are as much work to prepare for as a big trip. I, for one, had my first down time in a long, long time. I actually spent three hours to myself. I know that probably sounds like a lot to you mother's out there, but just believe me when I say "I needed it!"
I saw this amaze-balls headboard from West Elm and besides loving the style of that photo, I love that dark wood. I thought I could try my hand at making my own.
MATERIALS
- Wood type of you choosing, I chose cherry because I wanted this dark rustic color
- Wood glue
- Clamps
- Weatherwood Stain's "Reclamation" stain
- Topcoat of your choosing, I used our WW Maintenance Oil Clear but you could use furniture wax, too
DIRECTIONS
WOOD
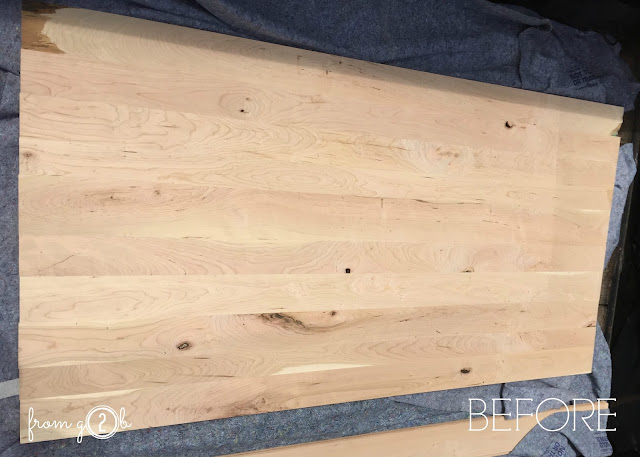
1. I chose my wood from a lumber yard. If you're looking for a specific species of wood or you just want a variety larger than 5 options, that's where you'll want to shop, too. I purchased cherry because I knew what color it would turn based on my Weatherwood color chart.
GLUE
2. I had the wood bound together by utilizing my local mill. They planed the wood and glued the boards together. I use the mill for creating prototypes, sanding my Weatherwood samples and fun blog projects. The mill either charges me for the board (5-7$) or if I drop a ton of wood to be sanded and other things they will charge by the ship hour with ranges from 50-100 bucks. Very affordable.
3. When we picked it up at the mill we gave it a light sand with 60 grit sandpaper. It's ready to be stained.
STAIN
4. The easiest way to tell you how we stained it, is to just show you...
5. DRY
With a hardwood like cherry the headboard will dry in 15-20 minutes. Now we are ready for a topcoat.
TOPCOAT
6. For a topcoat I wanted the wood to look rich and dark, so I chose Maintenance Oil Clear. You can see how the maintenance oil did exactly what I wanted.
Freshly oiled and ready to cure for 24-48 hours.
The outcome was really, really beautiful. I love how the wood grain shows through, even with the dark color. Isn't that knot dreamy?
I'd like to take some sort of credit for the beautiful result, but it's really all because Weatherwood stains so beautifully. You can finally create your own high end finishes.
This headboard and a few others were done as prototypes for a few design boutiques. They turned out beautifully, of course, but this was my favorite and the one I plan to scoop by as my own!


